
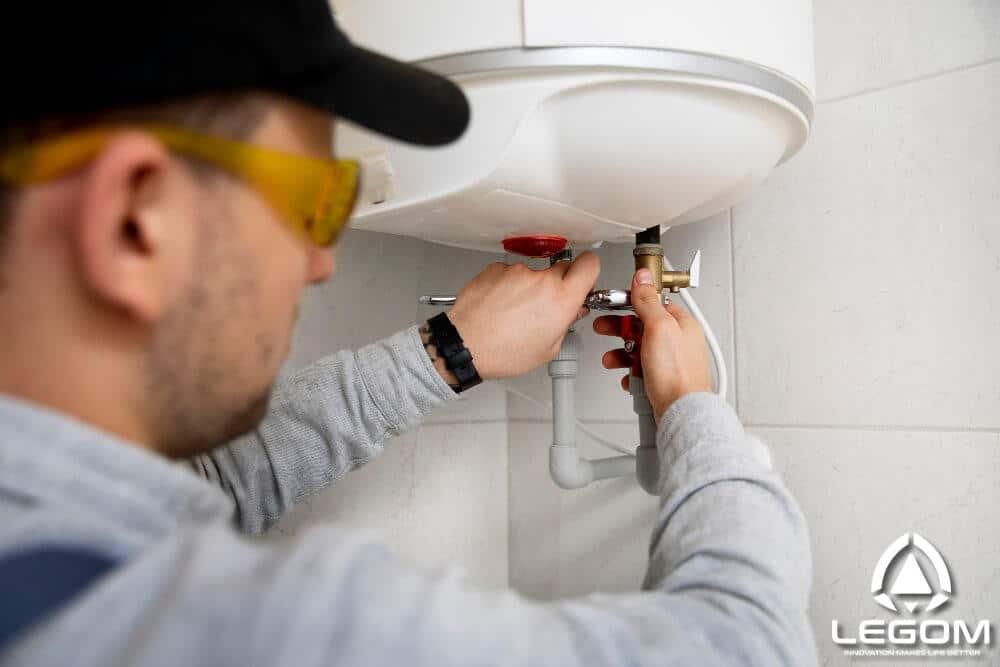
A storage water heater is usually the second largest energy user in a home after heating and cooling, and it is the appliance people think about least until it fails. It also contains the one component in a house that can genuinely explode, which is a reasonable argument for an annual look at it.
The good news is that water heater services come down to a short list, in a specific order, and most of it is within reach of a competent homeowner. This page sets out that order: what to flush, what to inspect, what to test, and the one question almost all maintenance advice gets wrong, which is what temperature to actually set it to.
The Temperature Setting, Answered Properly
Start here, because it is the most consequential setting on the appliance and the advice circulating about it is contradictory.
You will read that you should set the thermostat to 49 °C (120 °F) to save energy. You will also read that storage must be at 60 °C (140 °F) for safety. Both pieces of advice are given confidently and they cannot both be followed.
Here is why the conflict exists, and how it is actually resolved.
Bacteria set the storage temperature. Legionella pneumophila multiplies in water between roughly 20 °C and 45 °C. Above 50 °C it begins dying, and the rate matters: about two hours to reduce the population by 90 percent at 50 °C, around two minutes at 60 °C, a couple of seconds at 70 °C. A tank held at 49 °C to save energy is not an efficient tank, it is sitting at the top of the growth range. And the infection route is inhaling aerosolised droplets, which a shower produces very effectively.
Scalding sets the outlet temperature. At 60 °C a child’s skin sustains a full thickness burn in roughly one second. At 50 °C the same injury takes around five minutes, long enough to react. The people on the wrong side of that are young children, older adults, and anyone with reduced skin sensation.
The resolution is not a compromise setting. It is to do both: store the water hot and reduce the temperature at the outlet.
Set the tank thermostat to 60 °C (140 °F) and fit a tempering valve or thermostatic mixing valve on the outlet, blending cold in so the water reaching baths, showers and basins arrives at 50 °C or below. Kitchen and laundry branches are usually taken off before the valve, since they want hotter water and nobody bathes in them.
That arrangement is the standard requirement in several markets rather than an optional extra, and it removes the choice between a burn risk and an infection risk. If your system has no mixing valve on the outlet, that is the single most useful upgrade available, and it costs less than most service calls.
The Annual Service, in Order
Four jobs, roughly in the order that gives the best return on the time.
1. Flush the Sediment
Calcium and magnesium precipitate out of hard water as it heats and settle on the tank floor. What happens next depends on the fuel, and the symptoms differ usefully:
On a gas unit, the burner is underneath. A layer of sediment insulates the steel from the water above it, so instead of heating water the burner overheats the tank wall. That is what the rumbling, popping and kettling noises are: steam forming under the sediment layer. It also shortens tank life directly, because overheated steel fails sooner.
On an electric unit, sediment buries the lower element. An element surrounded by sludge rather than water overheats and burns out. The symptom is hot water that runs out unusually fast, because the upper element is doing all the work on its own.
How to flush: turn off the energy supply, close the cold inlet, open a hot tap elsewhere to break the vacuum, run a hose from the drain valve to a safe discharge point, and drain. Then open the cold inlet in short bursts with the drain still open to stir and carry out the settled material. Repeat until the water runs clear.
Annually is the normal interval. In genuinely hard water, twice a year. One practical warning: an old plastic drain valve that has never been opened may not close again afterwards, so have a replacement to hand, and consider fitting a brass drain valve while you are there.
2. Inspect the Anode Rod
The least understood component and the one that determines how long the tank lasts.
A steel tank in hot water corrodes. The anode rod is a sacrificial electrode, magnesium or aluminium, that corrodes preferentially because it is more electrochemically active than steel. While it is being consumed, the tank is not. When it is gone, the tank is next.
Which material: magnesium is more reactive and gives better protection, and is the usual choice in soft water. Aluminium is consumed more slowly and is generally preferred in hard water. Powered titanium anodes exist and do not deplete, which suits aggressive water or inaccessible installations.
When to check: every two to three years in normal water, annually where water is aggressive or the unit is on a well.
When to replace: when roughly three quarters consumed, or as soon as the steel core wire is exposed along its length. A replacement rod costs very little and it is the cheapest life extension available for a water heater, by a wide margin.
A diagnostic bonus: if the hot water smells of rotten eggs, that is usually hydrogen sulphide produced by a reaction between a magnesium anode and sulfate-reducing bacteria in the water. Switching to an aluminium or powered anode normally resolves it. The smell is not a fault in the heater and chlorinating the tank alone rarely fixes it for long.
3. Test the T&P Valve
The temperature and pressure relief valve is the one component on the cylinder that prevents a catastrophic failure. It stays shut and does nothing until temperature or pressure exceeds its setting, at which point it discharges. It may never operate across the life of the tank, which is exactly why it gets neglected.
Three installation rules that are not optional:
- The discharge must be piped to a safe, visible termination, full bore, running downward.
- Nothing may be fitted downstream that could restrict flow. No valve, no reducer, no cap.
- It must never be plugged. If a T&P valve is weeping and somebody caps it, the next failure is the vessel.
The annual test: with a bucket or the discharge pipe directed safely, lift the test lever. Water should discharge forcefully, and the valve should reseat cleanly when you release it.
And the honest caveat, which most guidance omits: on an old or scaled valve, testing can leave it weeping afterwards because the seat no longer seals. That is not the test breaking a good valve; it is the test revealing a valve that would not have operated correctly in an emergency either. But it does mean that on a unit more than a few years old, many plumbers prefer to simply replace the valve rather than test it, and that is a defensible position.
For what the valve is and how it works, see seven facts about the T&P valve and the essential role of the water heater T&P valve. For replacement cost, see conditions affecting T&P valve replacement cost, and for the wider family pressure valves.
4. Check the Expansion Vessel
This is the item missing from almost every maintenance list, and the cause of the most misdiagnosed fault on the appliance.
On a closed or unvented system, water expands as it heats and has nowhere to go. The expansion vessel absorbs that expansion with an air cushion behind a rubber diaphragm, pre-charged to the system’s cold static pressure.
When that charge is lost, either through diaphragm failure or gradual air loss, the vessel fills with water and becomes a solid lump doing nothing at all. Every heating cycle then spikes the system pressure, and the T&P valve lifts to relieve it.
So the sequence that plays out: the T&P valve discharges, somebody replaces the T&P valve, it discharges again, somebody replaces it a second time. Nobody checks the vessel.
How to check it: tap down the side of the vessel. A healthy one sounds hollow in the upper portion and dull in the lower. One that sounds dull all the way up is waterlogged. Or depress the Schrader valve on the air side: air should come out. If water comes out, the diaphragm has failed and the vessel needs replacing.
The rule to remember: if a T&P valve is discharging repeatedly, the valve is usually not the fault. Investigate three things in order: supply pressure that is too high, which calls for a pressure reducing valve; a failed or wrongly charged expansion vessel; or genuine overheating from a failed thermostat.
Diagnosing by Symptom
What the common complaints usually mean, which is the part a reader actually wants:
Rumbling, popping or kettling. Sediment on the tank floor, on a gas unit. Flush it.
Hot water runs out much faster than it used to. On electric, a failed lower element, often from sediment burial. On any unit, a broken dip tube letting cold inlet water mix at the top instead of the bottom.
Water is lukewarm and never properly hot. Thermostat setting, a failed upper element on electric, or a thermostat that has drifted.
Rotten egg smell. Magnesium anode reacting with sulfate-reducing bacteria. Change the anode material.
T&P valve discharging repeatedly. Pressure, not the valve. Check supply pressure and the expansion vessel before replacing anything.
Warm water coming out of the cold tap. Crossflow, usually a failed non-return valve on a mixing valve inlet. It wastes energy and destabilises mixed outlets elsewhere in the house.
Water at the tap is hotter than it used to be. Check the mixing valve. A thermostatic element that has scaled responds slowly and then stops responding, and the outlet temperature creeps up over months. This one matters because it develops gradually and nobody notices until a shower feels wrong. Measure the delivered temperature against the commissioning figure and replace rather than adjust.
Visible water around the base. Could be the drain valve, a fitting, the T&P discharge, or the tank itself. A leaking tank is terminal; the others are repairs.
More fault-finding detail is in water heater repair methods and the component picture in water heater components and their functions.
Efficiency Measures Worth Doing
In order of return:
Insulate the first couple of metres of pipe leaving the tank, both hot and cold. Cheap, quick, and it reduces standby loss where it is highest.
Add a tank jacket if the unit is older and the tank feels warm to the touch. Modern units are well insulated and gain little; older ones can gain a lot. Keep clear of the burner, the flue and all labels on a gas unit.
Fix dripping hot taps. A dripping hot tap is a water heater running for nothing, continuously.
Flush the sediment, as above. A clean tank transfers heat to water rather than into the steel.
Do not lower the thermostat below 60 °C to save energy. Store hot and temper at the outlet, as covered earlier. The saving from a lower tank temperature is modest; the risk is not.
Tankless: the Honest Comparison
Tankless units heat on demand, so they carry no standby loss and take up far less space. They are a genuinely good option in the right installation, and it is worth knowing the constraints before committing.
What you gain: no standby heat loss, unlimited duration of hot water, a smaller footprint, and typically a longer service life than a tanked unit.
What it demands:
- Supply capacity. A gas tankless unit needs a much larger gas supply than a tanked one, often a bigger meter and larger pipework. An electric one needs substantial electrical capacity, sometimes more than a domestic supply can give.
- A minimum activation flow rate. Below it the unit does not fire, so a trickling tap gives cold water.
- Tolerance of the cold water sandwich. Stop and restart a draw and you get a slug of cooler water as the unit re-fires.
- Descaling. The heat exchanger is a narrow passage at high heat flux, so scale builds faster and matters more than in a tank. In hard water this is a regular maintenance item, not an occasional one.
- Flow-limited simultaneous use. Capacity is a flow rate, not a stored volume, so two showers at once may exceed it where a large tank would cope.
A tempering valve is still required on a tankless system. See tankless water heater technology for more.
When to Replace Rather Than Repair
Most tanked water heaters last 10 to 15 years, and anode condition is the main determinant rather than the brand. A unit whose anode was replaced twice will usually outlast one that never was.
Replace rather than repair when the tank itself is leaking, since that cannot be fixed. Consider replacement when the unit is past about 12 years and needs a significant repair, when it can no longer meet the household’s demand, or when the cost of the repair approaches a meaningful share of a new unit.
Plan it rather than waiting. A failed water heater is replaced in a hurry, at whatever price is available, with whatever unit is in stock. Replacement cost factors are in water heater replacement cost and tips.
When you do replace, specify the mixing valve at the same time rather than afterwards. It is far cheaper fitted during the installation.
Legom Water Heater Valves
Jiaxing Legom Technology Co., Ltd. manufactures the valves on a water heater assembly from our facility in Jiaxing, Zhejiang, supplying more than 90 countries.
For the outlet, our 910021NT thermostatic mixing valve covers general domestic duty, the 910075NT suits installations where the pipe run dictates a horizontal body, and the 910018CC is rated for the high and variable inlet temperature a solar store produces, which a standard valve is not. For solar specifically, see our solar water heater mixing valve guide.
On the safety side the range covers temperature and pressure relief valves, pressure relief and pressure reducing valves. The full set is in our HVAC valve range, and installation guidance in thermostatic mixing valve installation.
We manufacture our own wax thermostatic elements rather than buying them in, which is what lets us hold element response consistent across a production run. On a safety valve that matters more than it sounds, because inconsistent elements mean inconsistent outlet temperature across an installed base.
Material grade decides compliance on a potable valve, and our note on HVAC valve materials covers the brass grades including the dezincification resistant alloy some markets require. For distributors and brands, our OEM and ODM service covers configuration, setpoint range and market documentation.
Frequently Asked Questions
What temperature should a water heater be set to?
Store at 60 °C (140 °F) for Legionella control, and limit delivery to 50 °C (122 °F) or below with a tempering or thermostatic mixing valve on the outlet. Advice to set the tank to 49 °C to save energy puts the stored water at the top of the bacterial growth range; the correct answer is to store hot and temper at the outlet rather than to compromise on one setting.
How often should a water heater be serviced?
Annually: flush the sediment, test the T&P valve, and check the expansion vessel. Inspect the anode rod every two to three years, or annually where the water is aggressive. Twice-yearly flushing in genuinely hard water.
What does the anode rod do and when should I replace it?
It is a sacrificial electrode that corrodes in place of the steel tank. Replace it when about three quarters consumed or when the steel core wire is exposed. It is the cheapest way to extend the life of a water heater, because once the anode is gone the tank is what corrodes next.
Why does my T&P valve keep discharging?
Usually not the valve. Check supply pressure, which may need a pressure reducing valve, then the expansion vessel, which becomes waterlogged when it loses its air charge and then does nothing, and finally a failed thermostat causing genuine overheating. Replacing the T&P valve without finding the cause means replacing it again.
How do I know if my expansion vessel has failed?
Tap down its side: healthy sounds hollow at the top and dull at the bottom, waterlogged sounds dull throughout. Or depress the Schrader valve on the air side. Air means it is fine; water means the diaphragm has failed and the vessel needs replacing.
Why does my hot water smell of rotten eggs?
Hydrogen sulphide, usually from a magnesium anode reacting with sulfate-reducing bacteria in the water. It is not a fault in the heater. Switching to an aluminium or powered anode normally resolves it; chlorinating the tank alone rarely fixes it for long.
Should I test the T&P valve if the heater is old?
It is a judgement call. The test is correct practice, but on an old or scaled valve the seat may not reseal afterwards. That reveals a valve that would not have worked in an emergency either, so on an older unit many plumbers prefer to replace the valve rather than test it.
Is a tankless water heater worth switching to?
In the right installation. You gain no standby loss, unlimited duration and a smaller footprint. You need a much larger gas supply or substantial electrical capacity, you live with a minimum activation flow rate and the cold water sandwich, and in hard water descaling becomes a regular maintenance item rather than an occasional one.
Reviewed by Maggie Shen, Director at Legom, on October 18, 2026. This article was reviewed for technical accuracy, including the resolution of the Legionella and scald temperature conflict through 60 °C storage with a tempered outlet, the galvanic mechanism and material selection of the sacrificial anode, the differing effects of sediment on gas and electric units, T&P valve discharge pipe requirements and the caveat on testing older valves, expansion vessel waterlogging as the usual cause of repeated T&P discharge, and the supply and maintenance constraints of tankless systems.